Tag Archive for: ice dam

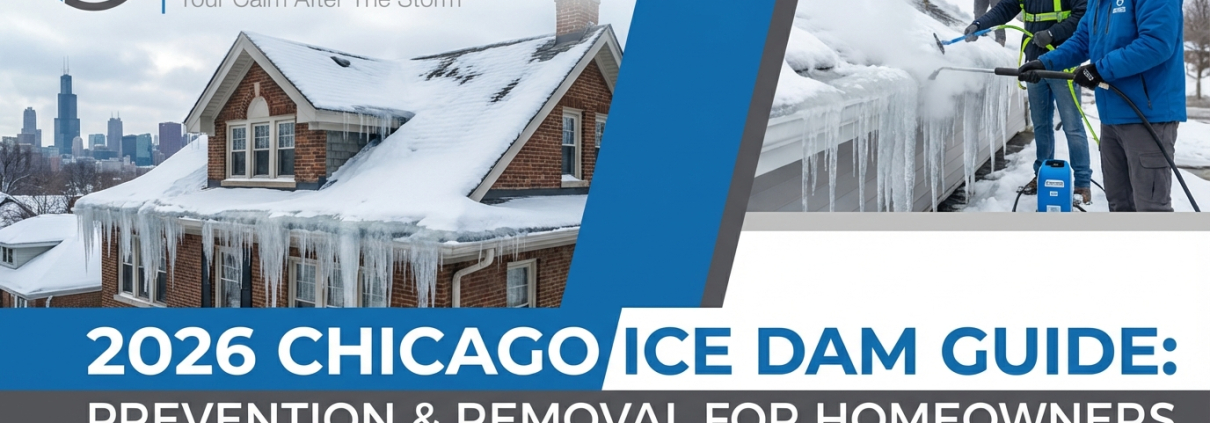
2026 Chicago Ice Dam Guide: Prevention & Removal for Homeowners

2026 Chicago Ice Dam Guide: Prevention & Removal for Homeowners

Chicago ice dams are one of the most common and damaging winter roofing problems homeowners face. While Chicago winters are beautiful, they can also be brutal. Ice dams—those seemingly innocent ridges of ice that form along roof edges—can lead to serious water damage inside your home.

Homeowners in Chicago search for information on ice dams because they want to protect their homes from costly water damage caused by melting snow and ice. They want to understand how to prevent ice dams from forming and what to do if they already have them. The desired outcome is a safe, dry home and peace of mind during the winter months. Revived Exteriors is here to help you achieve that outcome with expert advice and reliable service.

Revived Exteriors understands the unique challenges Chicago winters pose to your home. With over 25 years of experience serving the Chicago area, we’re committed to providing superior craftsmanship, quality products, and a stress-free customer experience at fair market prices.

Chicago ice dams forming on residential roof

How Chicago Ice Dams Damage Roofs and Homes | How They Form

An ice dam is a ridge of ice that forms at the edge of a roof, preventing melting snow and ice from draining properly. This can cause water to back up under the shingles and leak into your home, leading to damaged ceilings, walls, and insulation.

Ice Dam Definition: A ridge of ice that forms at the edge of a roof, blocking melting snow and ice from draining off the roof.

The Ice Dam Formation Process: Step by Step

  1. Uneven Roof Temperatures: Warm air escapes from the attic, warming the upper roof surface.
  2. Snow Melts: Snow melts even when outdoor temperatures are below freezing.
  3. Water Refreezes: Melted water refreezes near the colder eaves.
  4. Ice Dam Forms: Ice builds into a ridge that blocks proper drainage.
  5. Water Backs Up: Water pushes under shingles and leaks inside the home.

Understanding this process is the first step in preventing ice dams. By controlling roof temperature and drainage, you can significantly reduce your risk.

Chicago Ice Dams: Why They Are So Common

Chicago’s climate creates perfect conditions for ice dam formation. Frequent freeze-thaw cycles cause snow to melt and refreeze repeatedly, accelerating ice buildup along roof edges.

Many older Chicago homes also lack modern insulation and ventilation standards. Combined with heavy snowfall, these factors make ice dam prevention essential for homeowners throughout the city and surrounding suburbs.

Identifying Ice Dams: Warning Signs Homeowners Should Watch For

  • Visible ice ridges along roof edges or gutters
  • Large icicles forming consistently in one area
  • Water stains on ceilings or exterior-facing walls
  • Peeling paint or bubbling drywall
  • Wet attic insulation

If you notice these signs, prompt action is critical to avoid serious structural damage.

Preventing Ice Dams on Chicago Homes

Improve Attic Insulation and Ventilation

Proper insulation prevents heat from escaping into the attic. In Chicago, attic insulation should typically reach an R-value of R-49 to R-60. Balanced ventilation using soffit and ridge vents keeps roof temperatures consistent.

Safe Roof Snow Removal

Using a roof rake from the ground helps remove snow before ice dams form. Focus on the lower roof sections and always prioritize safety.

Heated Cables and Ice Melt Systems

Professionally installed heated cables or panels create drainage channels that reduce ice buildup. These systems should always be installed by qualified professionals familiar with Chicago winters.

Ice Dam Removal: Safe and Effective Options

Professional Steam Ice Dam Removal

Steam removal is the safest and most effective way to remove Chicago ice dams. It melts ice without damaging shingles, flashing, or underlayment.

For additional cold-climate building standards, homeowners can reference guidance from the U.S. Department of Energy.

Revived Exteriors provides professional steam ice dam removal throughout Chicago and nearby suburbs using specialized equipment and trained technicians.

DIY Ice Dam Removal: What to Do (and What NOT to Do)

  • Use roof rakes to remove snow
  • Apply calcium chloride ice melt (never rock salt)
  • Create drainage channels using ice melt socks
  • Never chip ice with tools
  • Never climb icy or steep roofs
  • Never use pressure washers

The Cost of Ice Dam Damage in Chicago

  • Roof deck and shingle repairs
  • Interior ceiling and wall damage
  • Mold remediation
  • Increased energy bills

Preventive measures and timely removal often cost far less than repairing unchecked ice dam damage.

Insurance Coverage for Ice Dam Damage

Most homeowner insurance policies cover ice dam damage, but coverage varies. Always document damage and contact your insurance provider promptly.

Choosing a Chicago Ice Dam Removal Company

  • Local experience
  • Steam-based equipment
  • Proper licensing and insurance
  • Verified reviews and references

Revived Exteriors has over 25 years of experience protecting Chicago homes from winter roof damage.

Preparing Your Home for Future Chicago Winters

  • Inspect roofing annually
  • Clean gutters before winter
  • Trim overhanging branches
  • Consider gutter guards

Conclusion: Staying Ahead of Chicago Ice Dams

Ice dams are a serious but preventable problem for Chicago homeowners. With proper insulation, ventilation, snow removal, and professional assistance when needed, you can protect your home and avoid costly repairs.

Because Chicago ice dams are driven by local climate, insulation quality, and roof design, addressing the root cause is always more effective than repeated emergency repairs.

Ready to Get Started?

Superior craftsmanship, quality products, and a stress-free customer experience delivered by a family-owned team with over 25 years of experience.


Visit Our Homepage

Illustration showing how an ice dam on a roof causes water leakage into the house, wall and ceiling damage, and trapped water, with heat escaping through the attic. Reach out to a roofing company for roof replacement to prevent these issues.

1) Lack of Insulation

Snow begins to melt due to the heat escaping through the attic from a lack of insulation. This causes moisture to build up in the attic space when it heat and cold mix. The moisture is usually evident if you look at the nails. Nails will typically show water gathering on the tip and many times this drips down and although it’s not a roof leak, it may feel like it is when you see a stain on your ceiling.

2) Insulation Covering Intake Vents

It’s important to keep the heat in your home to reduce energy costs and ensure a comfortable temperature in the bitterly cold winter. However, covering the intake is a common mistake.  Energy Star agrees and states on their website the following: “The most common mistake homeowners make when installing insulation is to block the flow of air at the eaves. NEVER COVER ATTIC SOFFIT VENTS WITH INSULATION — use rafter vents and soffit vents to maintain airflow.” The goal is to have your attic space as close to the same temperature as the outdoors. The roof needs to breathe in that air from the outside. It’s the equivalent of covering your mouth and nose while trying to breathe in. Just like a lack of insulation, it may appear there is a roof leak but it is not.

3) No Baffles or a limited amount of baffles

Baffles are typically made from plastic or Styrofoam and shaped in a manner to allow air to flow over the insulation at the eaves of your home

If you have insulation pushed into the eaves and don’t have baffles, use a rake to pull it away at a minimum.

Again, a roof leak won’t be the root cause of your water-stained ceiling, but it will appear to be at first glance.

4) Lack of Exhaust Vents

Just like intake, the exhaust is equally important. Using the same analogy when breathing, you have to release the air that you breathe in. Since warmer air rises, the cold air comes in through the intake and then rises when warm which naturally forces it to leave through the exhaust vent. This reduces the likelihood of a roof leak caused by ice dams while also increasing the lifespan of your residential roofing system.

The ideal conditions for an attic space is to have a balanced airflow.  This can be done by having 50% of air coming in from the eaves through intake vents and 50% through exhaust vents. More on this topic and additional reasons for a roof leak can be found in our post “Roof Leaks With No Rain Or Snow”

5) Uninsulated Furnace Vents

This causes heat in the winter to buildup in the attic which leads to an increase in condensation. This causes ice or moisture to build up on the inside of the plywood sheathing and mimics a roof leak across the entire span of the roof. This may lead to many leaks showing up in your home.

What About Ice Dams?

Ice dams are where any of the 5 conditions listed above cause snow to melt and it ends up freezing at the end of your roof near the gutters. This builds up over time and pushes its way under the shingles. When it starts to thaw, water penetrates the inside and is, in fact, a roof leak.

What can be done to prevent an ice dam roof leak

A simple tool can be used called a telescoping roof rake. These are sold at most big box remodeling stores. They cost roughly 50-$60 and help keep you safe by doing this from the ground.

Make sure you are not standing directly under the area you are removing snow from since it can be heavy and possibly bring ice down with it.

This is a preventative measure that doesn’t correct the root of the problem. Having a roofing or insulation contractor inspect your attic space will provide you with a better understanding of the cause of your ice dam problem and ideally provide you with a solution on how to reduce the likelihood of it happening again.

Installing a leak barrier (commonly referred to as Ice and Water Barrier) like GAF’s WeatherWatch® can help prevent the water from penetrating through your plywood sheathing beneath the shingles. In Chicago and most the midwest, it’s required a minimum of 24 inches past the warm wall of your home. The easiest way to see where your leak barrier should be installed up your roof is to have one person measure 24 inches from your interior wall (at the eave side of your home) and another person to watch through a window and mark this on the exterior of your home. Another common way is to measure from the home’s exterior corner and add about 6-9 inches for your wall. Going above 24 inches is a safer bet to ensure you don’t get a roof leak.

What can be done to remedy an ice dam roof leak

There are many companies that also offer ice dam steaming. This would be a great option if preventative measures weren’t done or, there is an excessive amount of ice already built upon the eave which caused immediate leaks.

However, if you have a leak from an ice dam and you steam it, brace yourself for an excessively larger amount of water to breach at a rapid pace. Drill a small hole where you see the current leak coming through and have a large bucket ready to catch most of it. It would also be a good idea to have dry towels handy at this point.

Additional reasons why your roof may leak can be found in this video

Call Revived Exteriors today!


© Copyright | Revived Exteriors | *DISCLAIMER: Revived Exteriors, Inc. is neither a broker nor a lender. Financing is provided by third-party lenders unaffiliated with Revived Exteriors, Inc., under terms and conditions arranged directly between the customer and such lender, all subject to credit requirements and satisfactory completion of finance documents. Any finance terms advertised are estimates only. Revived Exteriors, Inc. does not assist with, counsel or negotiate financing, other than providing customers an introduction to lenders interested in financing Revived Exteriors customers.